

Tech Tip - Use Built-in Tools for Quick Annotations, Highlights, and More

I use my iPad and my iPhone a lot. I use them to create and consume content for just about every situation. Sometimes the need to do something quick and easy is the biggest reason I grab one or the other. Often, it is the built-in tools versus an application I paid for that comes to the rescue of solving the quick issue. Being able to make some quick notes or call out some ideas or changes to someone else is all I need. It might be a website, a picture, or a document. The built-in markup ability with both the iPad and iPhone is one of the easiest ways I know to get that accomplished.
It is as simple as taking a screen shot with either device. The tips provided today, while shown from the iPad, work nearly identically on both devices. I typically use the Apple Pencil on the iPad, but works just as well with your finger on either device.

Screen shots
If you are unfamiliar with how to take a screen shot on your device, it is pretty simple. If you have an iPad or iPhone with a physical home button, you can press the the home button and the power button simultaneously to grab a picture of what is on your screen at that moment. If you have a device that no longer has a home button (iPhone X or newer or 2018 iPad Pros or newer), you press the top volume button and the power button together to capture your screen image. On iPads, if you have a keyboard attached, you can also press the shift + command + 4 keys to capture your screen.
A small image will appear in the lower portion of your screen. If you tap on that, it will bring up the markup function and you can begin to work on your image. If you do nothing, it will fade away and save your screenshot to your photos library for accessing later. From the markup tool itself, you can save your initial image to the photos library or the Files app if you would prefer to have it somewhere separate.


Pencil and mark up tools
Once in the markup function, you will have a set of tools that you can use to make your notes, annotations, and other additions. The first few are the usual options you would expect to have - there is a pen tool, a marker tool, a pencil, an eraser, and the selection lasso. Additionally, there is a handy ruler to help you draw precise straight lines, the ability to change the colors of your writing tools, and the ability to get to an additional menu.


In the additional menu, you can select from shapes, signatures, a magnifier, and the ability to insert a text box. All of which can become very handy for different functions you may need to perform. The signature option will allow you to quickly add a signature to a document, directly from your email application. This is also how you could add it by taking a scan of a document or even a screenshot if you already have a document on your device that just needs your signature added.
Turn the market into a highlighter
The marker tool is multifunctional. It can be a marker, with varying thicknesses to cover things or draw. Or it can become a highlighter by changing the opacity. You can then select the color highlighter you need and make easy work of a document that you want to refer back to certain words or passages.

Highlight text with the market and opacity turned down. Need perfectly straight highlights? Use the handy ruler tool.
Draw shapes quickly
From the + menu you can find the common shape tools you would need for call outs or drawing attention to certain areas of your document or image. They can be adjusted in size, color, and even using the green change shape handles, adjust the shape of your shape or line.

(Insert shapes image)
This allows you to change many of the shapes to fit your needs, like stretching a thought bubble in a different way, or curving your arrow line.

(Insert adjusting shapes images)
Get more than just a screen shot - great feature for website or multi-page documents to capture them all at once
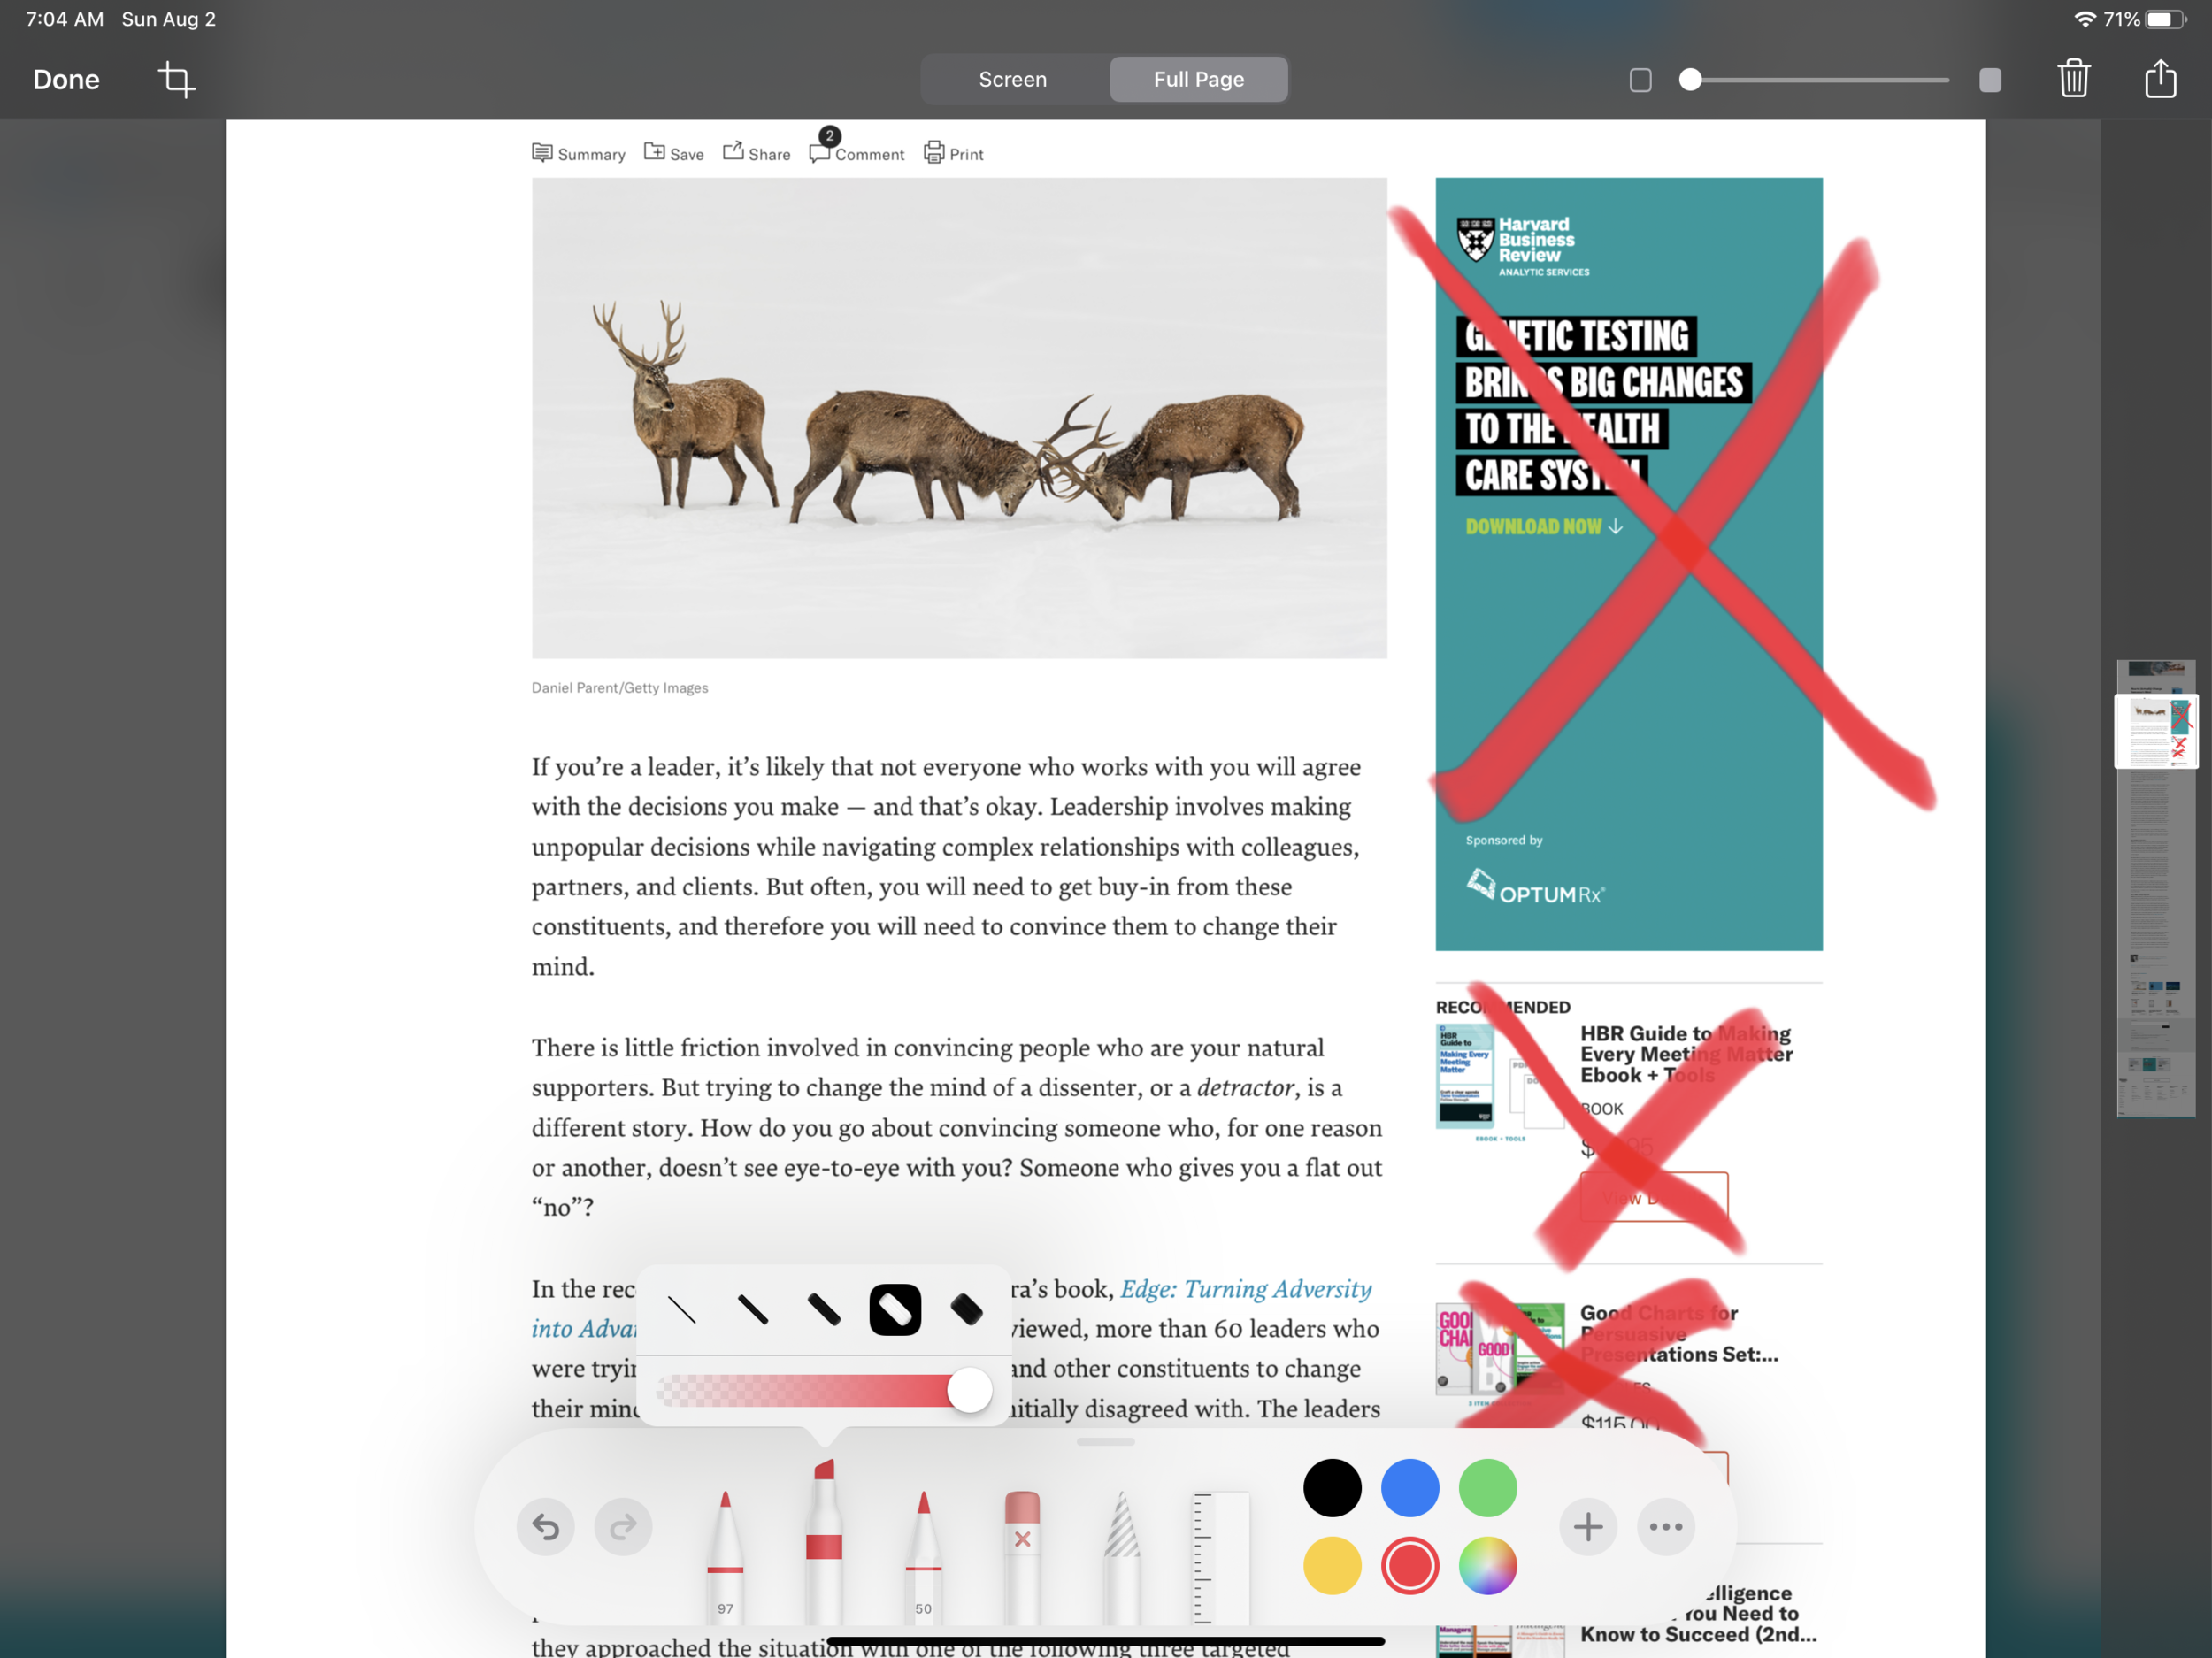
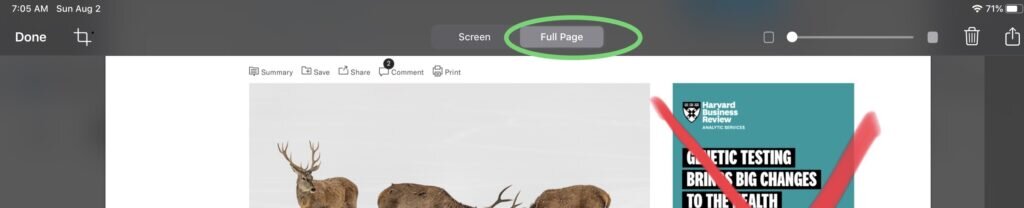
Using the screenshot function when working with websites or multi-page documents will give you the option for the screen (what you saw when you took the snapshot) or full screen (captures the complete website or all pages of the document.) This is an extremely handy function to have the ability to grab what would ordinary require multiple screenshots to capture. It keeps it altogether as a single, scrollable image so you can complete all of your annotations at the same time.
(Image of screen or full page)
Save your work and notes quickly
Once you have completed making any notes or annotations you can hit the ‘done’ button in the top left corner and that will open a save dialogue. If you have captured just a website, it will offer to save to the Files application and save as a PDF. If it is an image or mixed-use document it will give you the option to save to your photos library. Within the photos library there is a smart folder that allows you to seen just your screenshots, which is a handy way to sort through several of these if you capture a lot of different screenshots.
A note of caution here - when you save these files with annotations, it does create very large file sizes. Be aware of that so you can plan how you may need to send your files back to someone else. Large files may not lend themselves to email communication.
Capture a full article
I mentioned above that when working from a multi-page document or website, markup has the ability to capture all of that together. This is a great way to quickly take an article you may find on a website, screenshot it, and then turn into an archived pdf version of that article. From the article you are reading, complete the screenshot as you normally would (you can also use this in the reader view to eliminate the other clutter on the screen), then select done from the markup function and save to the Files app.
Markup is great for quick edit marks and annotations. It is not a full replacement for more fully featured PDF or editing tools if you are going to be doing a lot of notes and feedback within a document. But as an option to quickly capture a webpage or portion of a page to make notes, it is an excellent and useful tool. See it, save it, note it, send it. This is the built in tool that lets you do those things with very little effort.
How can you put the built in markup tool to work for you?
Join other retail leaders in continuing their development journey with Effective Retail Leader.com. SUBSCRIBE today to receive FREE leadership tips directly to your inbox and monthly newsletters that provide many tools to help further develop your leadership skills all at no cost. JOIN NOW!
No spam ever - just leadership goodness.